
Painting kitchen cabinets white is one of the most cost-effective ways to transform a kitchen without a full remodel. It brightens the space, makes small kitchens feel larger, and creates a clean backdrop for nearly any decor style. But it’s also a project where shortcuts show, peeling paint, visible brush strokes, and yellowing finishes are all consequences of poor prep or the wrong materials. This guide walks through the entire process, from choosing the right primer to final topcoat, so the results look factory-fresh and hold up to daily wear.
Key Takeaways
- Painting kitchen cabinets white is a cost-effective transformation that brightens spaces and makes small kitchens feel larger while maintaining neutral, versatile appeal for any decor style.
- Proper preparation—including degreasing with TSP or deglosser, sanding, and applying bonding primer—accounts for 80% of a successful cabinet paint job and prevents peeling, chipping, and adhesion failure.
- Use cabinet-specific acrylic-alkyd or urethane enamel paint rather than wall paint, applied in thin, multiple coats with a foam roller and angled brush to avoid sagging and achieve a smooth, factory-fresh finish.
- Sand lightly with 220-grit sandpaper between coats, maintain a wet edge while painting, and allow full 7-10 days for cure before reassembling doors or aggressive use to ensure a durable surface.
- Avoid common mistakes like skipping primer, painting in poor humidity or temperature conditions, applying thick coats, and choosing the wrong white shade—test samples first in your kitchen’s natural and artificial light.
Why White Cabinets Are a Timeless Choice for Any Kitchen
White cabinets have been a staple in kitchen design for decades, and for good reason. They reflect light, making even cramped galley kitchens feel more open and airy. Unlike trendy colors that date a space, white remains neutral and versatile, it pairs equally well with stainless steel appliances, butcher-block countertops, or colorful backsplashes.
From a resale perspective, white cabinets appeal to the broadest range of buyers. Real estate agents consistently note that kitchens with white cabinetry photograph better and receive fewer objections during showings. They also provide a blank canvas for homeowners who want to refresh their kitchen’s look without committing to another full cabinet repaint.
Practically speaking, white cabinets hide dust better than dark finishes but do show grease and fingerprints more readily, especially around handles. This makes surface preparation and a durable topcoat critical. The right paint system will resist yellowing and wear far better than a single coat of budget latex.
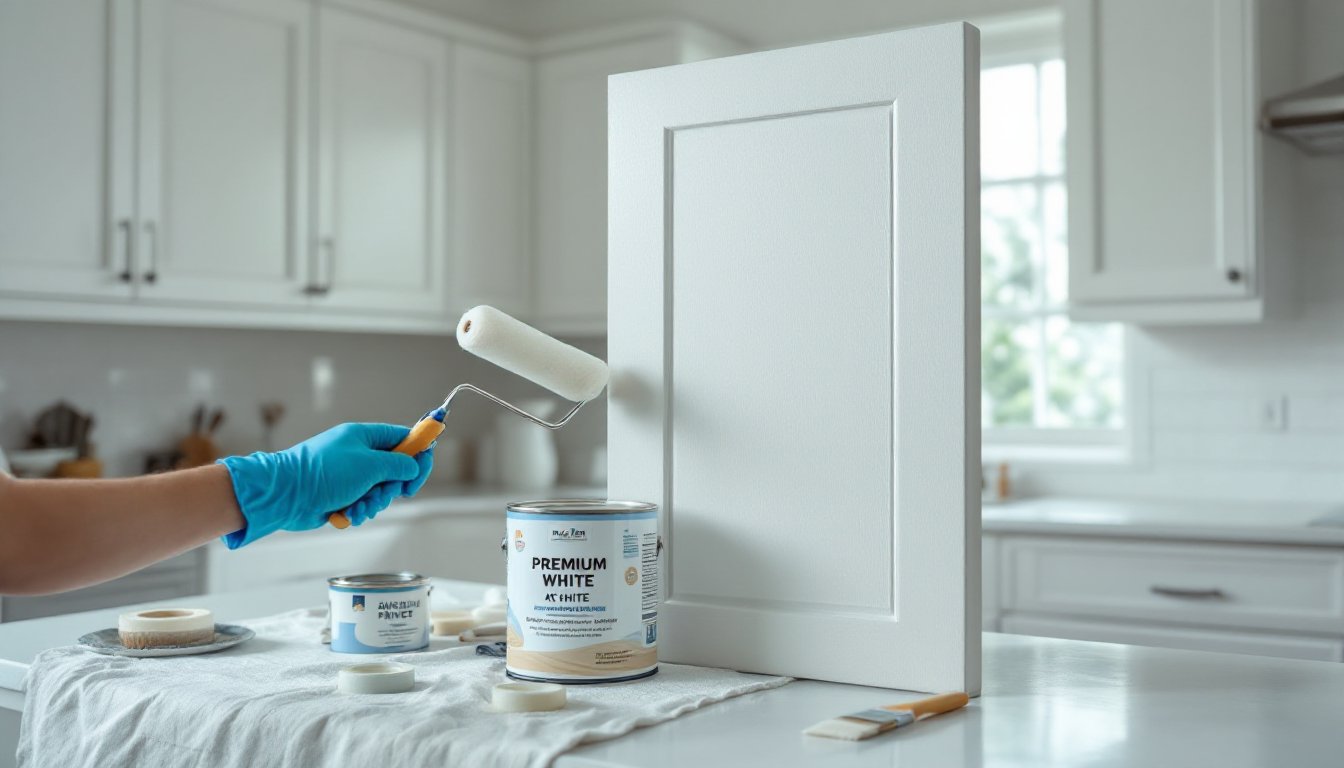
Materials and Tools You’ll Need for the Job
Using the right materials separates a weekend DIY project from a professional-grade finish. Here’s what to gather before starting:
Materials:
- Deglosser or TSP (trisodium phosphate): Cuts through grease and prepares the surface for primer.
- Sandpaper or sanding sponges: 120-grit for initial scuffing, 220-grit for smoothing between coats.
- Bonding primer: Use a high-adhesion primer like Zinsser B-I-N Shellac or KILZ Adhesion. These grip slick surfaces like laminate or previously painted wood.
- Paint: Choose a durable cabinet-specific paint or a satin or semi-gloss acrylic-alkyd hybrid. Benjamin Moore Advance and Sherwin-Williams Emerald Urethane Trim Enamel are popular choices for their self-leveling properties and hard finish.
- Topcoat (optional): A water-based polyurethane adds extra protection against moisture and scratches, though many modern cabinet paints don’t require it.
Tools:
- Screwdriver or drill: For removing cabinet doors and hardware.
- High-density foam roller (4-inch): Produces a smoother finish than nap rollers.
- Angled brush (2-inch or 2.5-inch): For edges, corners, and detailed areas.
- Paint sprayer (optional): A HVLP sprayer delivers the most professional results but requires more setup and ventilation.
- Drop cloths, painter’s tape, plastic sheeting
- Tack cloth or microfiber rags
- Respirator mask, safety glasses, nitrile gloves
Don’t skimp on primer or paint quality. Budget latex wall paint won’t hold up to the constant opening, closing, and cleaning that cabinets endure.
Step-by-Step Preparation: The Key to a Flawless Finish
Preparation accounts for 80% of a successful cabinet paint job. Rushing this phase results in peeling, chipping, and an uneven finish.
Cleaning and Degreasing Your Cabinets
Kitchen cabinets accumulate a film of grease, cooking oils, and grime that paint won’t adhere to. Start by removing all cabinet doors, drawer fronts, and hardware. Label each piece with painter’s tape and a number corresponding to its location, this saves time during reassembly.
Clean every surface with a deglosser or a TSP solution. Mix TSP according to package directions (typically 1/4 cup per gallon of water), and scrub with a sponge or cloth. Pay extra attention to areas around handles and along the top edges of upper cabinets, where grease accumulates. Rinse with clean water and let everything dry completely, moisture under paint leads to adhesion failure.
For cabinets near the stove, a second pass with degreaser may be necessary. Many DIY painting tutorials emphasize this step, as it’s the most commonly skipped part of cabinet prep.
Sanding and Priming for Maximum Adhesion
Once dry, lightly sand all surfaces with 120-grit sandpaper. The goal isn’t to strip the existing finish, just to scuff it enough for primer to grip. This is especially important on glossy or laminate cabinets. Wipe away dust with a tack cloth or a damp microfiber rag.
Apply a coat of bonding primer to all surfaces. Use a foam roller for flat areas and an angled brush for edges and details. Primer dries faster than paint, most are ready for topcoat within 1-2 hours. If the cabinets are stained wood (especially oak or cherry), use a stain-blocking primer to prevent tannin bleed-through, which causes yellow or brown spots to appear over time.
After the primer dries, lightly sand again with 220-grit sandpaper. This knocks down any brush marks or raised grain and creates an ultra-smooth base. Wipe away dust before painting.
Painting Techniques for a Professional-Looking Result
The application method makes or breaks the final look. White paint shows every imperfection, brush strokes, roller stipple, and drips are all magnified.
Brushing and rolling:
For most DIYers, a combination of a 4-inch foam roller and a 2-inch angled brush works best. Foam rollers leave a smoother finish than nap rollers, which can create an orange-peel texture. Roll with even pressure in long, overlapping strokes. Use the brush for edges, inside corners, and any routed details.
Apply thin coats, two thin coats always beat one thick coat. Thick applications sag, drip, and take forever to dry. Most cabinet paints require 2-3 coats for full coverage. Sand lightly with 220-grit between coats if any roughness appears, and wipe clean before recoating.
Spraying:
A HVLP (high-volume, low-pressure) sprayer delivers the smoothest, most factory-like finish. It’s faster and eliminates brush marks entirely. But, spraying requires more setup: masking off walls, floors, and appliances: working in a well-ventilated area or outdoors: and thinning paint to the correct viscosity (check the sprayer’s manual).
Whether brushing or spraying, maintain a wet edge. This means working quickly enough that each new stroke blends into the previous one before it starts to dry. Self-leveling cabinet paints are more forgiving here.
Allow each coat to dry fully before handling. Most cabinet paints are dry to the touch in 1-2 hours but need 24 hours between coats for a hard cure. Reinstalling hardware too soon can leave fingerprints or dents in the finish. Several cabinet makeover projects recommend waiting 72 hours before reattaching doors to ensure a fully cured, durable surface.
Common Mistakes to Avoid When Painting Cabinets White
Even experienced DIYers run into trouble when painting cabinets. Here are the pitfalls that cause the most headaches:
Skipping the deglosser or primer:
Paint won’t stick to greasy or glossy surfaces. If adhesion fails, the entire job has to be redone. Always clean and prime.
Using wall paint instead of cabinet paint:
Wall paint isn’t formulated to withstand constant contact, moisture, or scrubbing. It’ll chip and yellow within months. Invest in a cabinet-specific acrylic-alkyd or urethane enamel.
Applying thick coats:
Thick coats sag, especially on vertical surfaces like cabinet doors. They also take longer to cure and remain soft longer, making them prone to fingerprints and dents. Thin coats dry faster and harder.
Not sanding between coats:
Even the best paints can leave slight texture or dust nibs. A quick pass with 220-grit sandpaper between coats ensures a glass-smooth finish.
Painting in poor conditions:
High humidity or temperatures below 50°F slow drying and can cause paint to sag or cure improperly. Aim for 60-80°F with low humidity. If working in a garage, run a dehumidifier or fan to improve air circulation.
Reassembling too soon:
Cabinet paint reaches full hardness after 7-10 days, even if it feels dry to the touch after 24 hours. Reattaching doors, stacking items, or aggressive cleaning before full cure can mar the finish. Patience pays off.
Choosing the wrong white:
Not all whites are created equal. Some lean blue or gray (cooler tones), while others lean yellow or cream (warmer tones). Test samples on a cabinet door in natural and artificial light before committing. Popular cabinet whites include Benjamin Moore Simply White, Sherwin-Williams Pure White, and Behr Ultra Pure White.
Many DIY furniture makeovers stress the importance of testing paint samples first, as lighting can drastically change how white appears in different kitchens.
Ignoring ventilation and PPE:
Cabinet paints, especially oil-based or alkyd formulas, emit fumes. Work in a well-ventilated space, and wear a respirator rated for organic vapors, not just a dust mask. Keep windows open and use fans to move air. Nitrile gloves and safety glasses are also essential, particularly when working with TSP or deglossers.
By avoiding these mistakes and following proper prep and application techniques, anyone can achieve professional-looking white cabinets that hold up for years.