
Brush strokes and roller marks are the fastest way to ruin an otherwise solid cabinet paint job. Spray painting delivers the smooth, factory-like finish homeowners want, but it’s also unforgiving if prep work gets skipped or technique falls short. This project sits squarely in the intermediate DIY category: manageable for most homeowners with the right equipment and patience, but not a weekend whim. Done correctly, spraying cabinets transforms a kitchen for a fraction of replacement cost. Done poorly, it results in drips, overspray chaos, and a refinish that costs more than the original attempt.
Key Takeaways
- Spray painting kitchen cabinets delivers a smooth, factory-like finish without visible brush strokes or roller marks, making it superior to traditional painting methods for professional results.
- Proper preparation—including degreasing, sanding with 220-grit, and applying primer—consumes 60% of project time but is essential to prevent peeling and ensure paint adhesion.
- HVLP turbine sprayers offer the best balance of control and minimal overspray for kitchen cabinet projects, costing $100–$250 to purchase or $50–$75 per day to rent.
- Apply two to three thin coats at 50% overlap from 6–8 inches away, starting motion before the surface and releasing after the edge to avoid drips and heavy spots.
- Allow 48–72 hours before light use and full 7-day cure before heavy kitchen activity to ensure the finish reaches maximum hardness and prevents fingerprints or adhesion failure.
- Extensive masking with plastic sheeting and proper cross-ventilation are non-negotiable to contain overspray and protect against toxic paint fumes.
Why Spray Painting Is the Best Method for Kitchen Cabinets
Spraying eliminates visible brush strokes and roller stipple, which are nearly impossible to avoid on smooth cabinet surfaces, especially doors and drawer fronts. A quality spray finish mimics the original factory application, leaving a hard, durable surface that stands up to daily wear.
Speed is another advantage. Spraying applies thin, even coats in seconds, while brushing or rolling the same area takes minutes and often requires more coats to achieve opacity. Cabinet boxes, rails, and stiles all get uniform coverage without the constant risk of lap marks or uneven film build.
The trade-off? Overspray. Spraying requires extensive masking, ventilation, and a dedicated space, preferably a garage or basement workshop. Homeowners who skip containment end up with paint mist settling on countertops, floors, and appliances. That cleanup nightmare outweighs any time saved. If working in place, plastic sheeting and HVLP (high-volume, low-pressure) sprayers help control drift, but some overspray is inevitable.
For intricate details, beadboard panels, raised profiles, recessed areas, spraying wraps around contours without pooling in crevices the way brushes do. This makes it the go-to method for traditional or Shaker-style cabinetry where detail work matters.
Essential Tools and Materials You’ll Need
Choosing the right sprayer matters. HVLP turbine sprayers (like those from Wagner or Fuji) offer fine control and minimal overspray, ideal for interior work. Airless sprayers push more volume and work faster on large jobs, but they’re harder to control and create significant mist. For most kitchen projects, an HVLP unit strikes the best balance.
Materials checklist:
- Cabinet-grade primer (oil-based or bonding primer like Zinsser BIN or KILZ Adhesion)
- Cabinet paint (acrylic urethane or alkyd enamel in satin or semi-gloss)
- Degreaser (TSP substitute or dedicated cabinet cleaner)
- 220-grit sandpaper and sanding sponges
- Tack cloths
- Plastic sheeting (4-mil minimum) and painter’s tape
- Disposable gloves, respirator mask (not a dust mask, use a half-face respirator rated for VOCs), and safety goggles
- Small brushes for touch-ups
- Painter’s pyramids or a drying rack setup
Tool alternatives: Handheld HVLP units cost $100–$250 and suit smaller kitchens. Renting a higher-end turbine system ($50–$75/day) makes sense for 20+ cabinet doors. Avoid compressed-air sprayers unless a reliable compressor with moisture traps is already on hand, moisture in the air line causes fish-eyes and finish defects.
Ventilation is non-negotiable. A box fan in a window or open garage door won’t cut it. Set up cross-ventilation with intake and exhaust fans to move fresh air through the workspace. Paint fumes are flammable and toxic: a respirator protects lungs, but it won’t prevent vapor buildup in an enclosed room.
Preparing Your Kitchen Cabinets for Spray Painting
Removing Hardware and Cabinet Doors
Label everything. Use painter’s tape on the back of each door with a number or location code (“Upper Left 1,” “Pantry Door,” etc.). Photograph hinge placements and hardware before disassembly, matching holes during reinstall saves frustration.
Remove all hinges, knobs, pulls, and catches. Store screws in labeled baggies or a divided organizer. Leave hinge plates attached to cabinet boxes if they’ll be painted: remove them if they’re staying as-is. Pull doors and drawer fronts to a clean workspace, sawhorses with padded surfaces or a pair of 2x4s across a bench work well.
If the kitchen stays functional during the project, leave cabinet boxes in place and mask interiors with plastic sheeting. For a full refinish, it’s worth removing drawers entirely and spraying boxes, shelves, and interiors separately.
Cleaning, Sanding, and Priming
Grease is the enemy. Years of cooking oils, handprints, and grime create an invisible barrier that prevents paint adhesion. Wipe every surface with a degreaser, TSP substitute or a dedicated product like Krud Kutter. Scrub around handles and edges where buildup concentrates. Rinse with clean water and let dry completely.
Sanding dulls the existing finish so primer can grip. Use 220-grit sandpaper and sand all surfaces, faces, edges, and inside profiles. The goal isn’t to remove old paint or stain, just to scuff the sheen. Wipe down with tack cloths to remove dust: any remaining particles will telegraph through the topcoat.
Primer selection matters. Oil-based primers like Zinsser BIN block stains and seal wood tannins, critical for oak or cherry cabinets. Bonding primers (shellac or acrylic) adhere to glossy surfaces like laminate or previously painted cabinets. Apply primer in thin, even coats, heavy application causes drips and extends dry time. Let primer cure per the manufacturer’s instructions (typically 4–6 hours) before sanding lightly with 220-grit and wiping clean.
Skip these steps, and paint will peel within months. Prep work consumes 60% of project time, but it’s the difference between a professional result and a DIY failure.
Step-by-Step Spray Painting Technique
Thin the paint if needed, check the sprayer’s manual for viscosity requirements. Cabinet paints are often too thick straight from the can and need 10–15% water (latex) or mineral spirits (oil-based) to atomize properly. Test spray on cardboard first: the pattern should be even without sputtering or heavy center buildup.
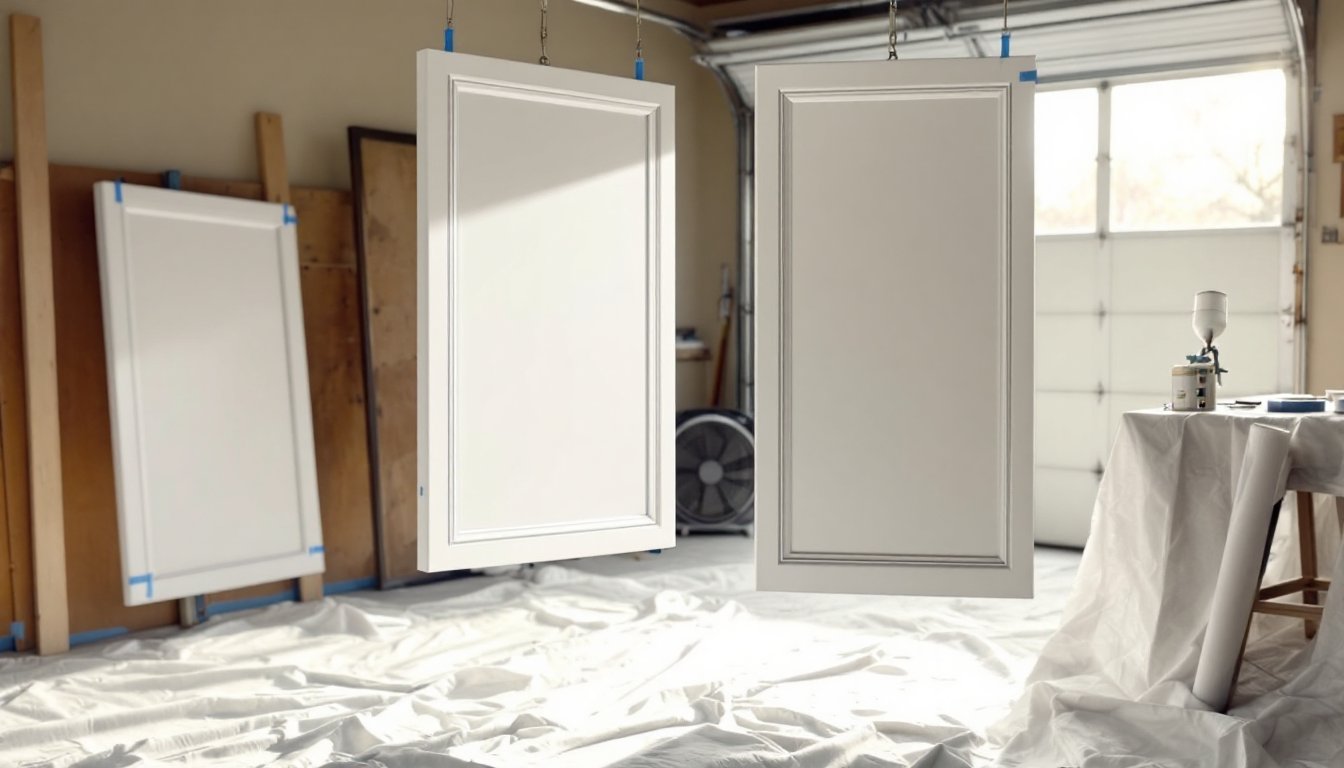
Set up a spray booth. Lay plastic sheeting on the floor and hang it behind the work area to catch overspray. Position cabinet doors flat on painter’s pyramids or prop them vertically on a drying rack, horizontal spraying reduces runs. Keep a fan running for ventilation, but don’t aim it directly at wet paint.
Spraying technique:
- Hold the sprayer 6–8 inches from the surface at a consistent distance.
- Move in smooth, overlapping passes, 50% overlap between strokes prevents streaks.
- Start the spray motion before the surface and release after passing the edge. Stopping mid-surface creates heavy spots.
- Apply two to three thin coats rather than one heavy coat. Thin layers dry faster and level better.
- Spray drawer fronts and door edges first, then faces. This prevents overspray from settling on finished surfaces.
Watch for drips in corners and along bottom edges. If a run forms, let it dry completely, sand smooth with 320-grit, and respray. Trying to fix wet paint makes it worse.
Drying time between coats: Follow the paint’s recoat window, typically 1–2 hours for water-based cabinet paints, 4–6 hours for oil-based. Temperature and humidity affect cure times: below 50°F or above 80% humidity, drying slows significantly.
Cabinet boxes get the same treatment. Mask off walls, countertops, and appliances with plastic and tape. Spray box interiors first (if painting them), then exteriors. Use a small brush for touch-ups around hinges or tight corners where the sprayer can’t reach.
After the final coat, let everything cure undisturbed. Water-based paints feel dry in hours but need 72 hours to harden fully. Oil-based finishes require up to a week. Reassembling too early risks fingerprints, smudges, and adhesion failure.
Drying, Reassembly, and Finishing Touches
Stack doors carefully during drying, use painter’s pyramids or scrap wood to keep surfaces from touching. Don’t lean doors against walls: contact points will mar the finish.
Curing vs. drying: Paint may feel dry to the touch within hours, but full cure, when the finish reaches maximum hardness, takes days. Cabinets can handle light reinstallation after 48–72 hours, but avoid slamming doors or heavy use for at least a week. Some cabinet painting projects benefit from a two-week cure before resuming normal kitchen activity.
Reinstall hardware carefully. If replacing knobs or pulls, use a template or measure twice, drilling new holes in fresh paint risks chipping. Hinges may need adjustment after reassembly: European-style hinges have three-axis adjustments for precise alignment.
Inspect the finish in natural light. Minor imperfections, tiny dust nibs or thin spots, can be wet-sanded with 1000-grit sandpaper and buffed, but only after full cure. Touch-ups should be done with a small brush, feathering edges to blend.
Maintenance: Sprayed cabinets hold up well with basic care. Wipe spills immediately, avoid abrasive cleaners, and use trivets or mats under small appliances to prevent heat damage. Properly prepped and sprayed cabinets can last 7–10 years before needing a refresh.
This project transforms a kitchen without the cost of replacement, but it demands meticulous prep, the right equipment, and patience. Rushing any phase, especially drying, undermines the entire effort. Done right, sprayed cabinets deliver a finish that rivals factory cabinetry.